
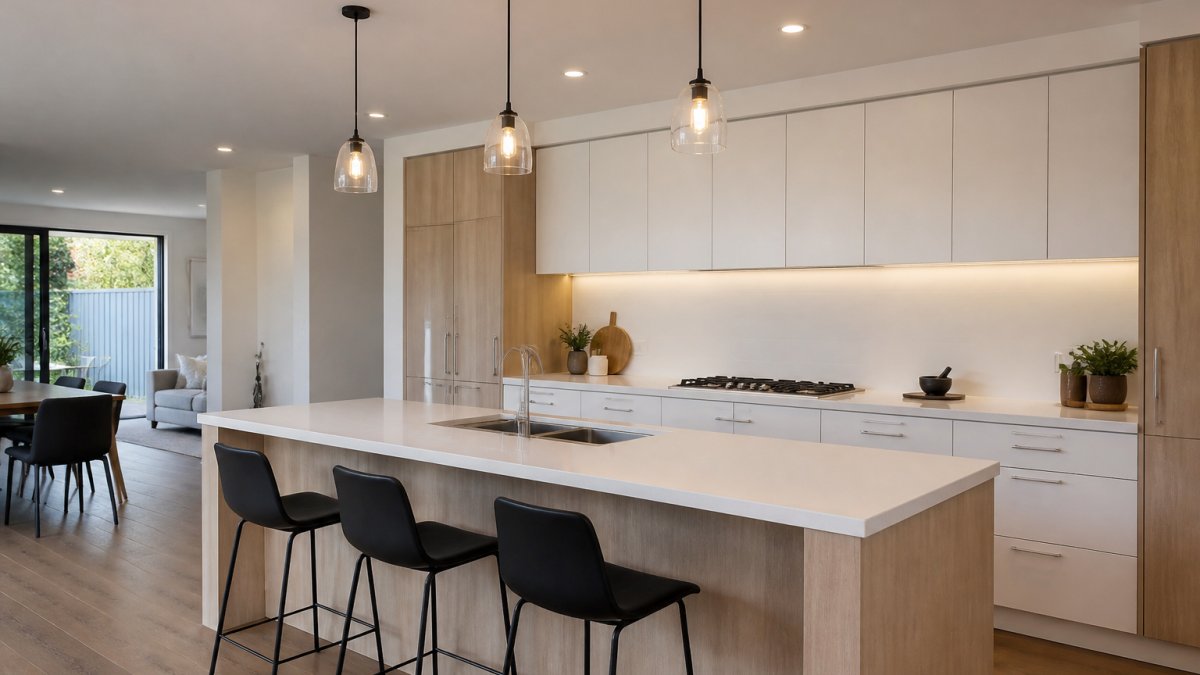
Last Updated: October 28, 2026
Quick Summary
A workable kitchen layout keeps clear floor space between the worktop, sink and cooking surface, so one cook can move between all three without stepping around anyone. Test every plan against four principles: clear walkways, adjacency, storage at the point of use and working clearance.
- Allow at least 1,000 mm between facing worktops, and 1,200 mm where two people cook together.
- Keep the total of the three work triangle legs between roughly 4 and 8 metres.
- Give a kitchen island at least 1,000 mm of clear floor space on every side.
- Solve small kitchen storage with deep drawers and full-height cabinetry before adding floor area.
- Measure walkways with appliance doors open, not closed, before committing to a plan.
Table of Contents
- The Core Principles Behind Every Workable Kitchen Layout
- How the Kitchen Work Triangle Still Shapes Good Layouts
- Planning Kitchen Work Zones Around How You Actually Cook
- Kitchen Island Dimensions That Leave Room to Move
- Small Kitchen Layout Ideas That Add Real Storage
- Layout Mistakes That Make a Kitchen Feel Wrong
- Turning Your Layout Principles into a Buildable Plan
- Frequently Asked Questions
The Core Principles Behind Every Workable Kitchen Layout
A workable kitchen layout is a design that keeps clear floor space between the worktop, the sink and the cooking surface, so one cook can move between all three without stepping around anyone. That single test settles most layout arguments before you ever pick a cabinet colour.
The principles below can help you assess a kitchen layout.
Here's what most guides get wrong: they treat the best kitchen layout design principles as a set of rules to tick off. They aren't. They're a way of testing a plan before you commit to it.
Four principles carry the most weight:
- Clear walkways. At least 1,000 mm between facing worktops, and 1,200 mm where two people cook together.
- Adjacency. Sink, cooking surface and main preparation bench belong within easy reach of each other.
- Storage at the point of use. Pans near the hob, crockery near the dishwasher, bins near the prep worktop.
- Working clearance. Doors, drawers and the oven door must open without blocking the walkway.
The Australian Standard for kitchen design, AS 4386 Domestic kitchen facilities, sets out many of these clearances. Most layout failures come from skipping one of these four, not from choosing the wrong style.
Four principles carry most of the weight when testing a layout.
| Principle | What it means | Key figure |
|---|---|---|
| Clear walkways | Space between facing worktops | At least 1,000 mm; 1,200 mm for two cooks |
| Adjacency | Sink, cooking surface and prep bench within easy reach | , |
| Storage at the point of use | Pans near hob, crockery near dishwasher, bins near prep worktop | , |
| Working clearance | Doors, drawers and oven door open without blocking the walkway | , |
How the Kitchen Work Triangle Still Shapes Good Layouts
The kitchen work triangle is the distance between the sink, the cooking surface and the main refrigerator, and it still shapes good layouts because it measures the three trips a cook makes most often. Keep the total of those three legs between roughly 4 and 8 metres and the kitchen feels calm. Push it longer and every meal becomes a walk.
The triangle isn't outdated, it's just incomplete. It assumes one cook, one sink and one oven. Add a second cook, an island prep zone or a butler's pantry and the triangle stretches into a work zone map.
What most guides miss is that the triangle is a diagnostic tool, not a floor plan. Draw it on your proposed layout. If any leg crosses a walkway, a doorway or the open dishwasher, the plan needs adjusting before you order a single cabinet.
Planning Kitchen Work Zones Around How You Actually Cook
Kitchen work zones group storage and surfaces by task: preparation, cooking, washing up, and storing food and crockery. A layout built around zones beats a layout built around symmetry every time.
Start by listing what your household actually does. A family that bakes needs a low, wide bench for rolling dough. Someone who cooks with a wok wants the hob near an open bench, not jammed against a wall. If you're feeding a busy household, the layout has to survive two people working at once, and our guide to the best kitchen layout for a family compares those workflows in detail.
A practical sequence is:
- List the five tasks your kitchen handles most often.
- Assign each task a bench, a storage run and an appliance.
- Check that no two zones collide at peak times.
- Confirm every zone has landing space beside it for hot pans and wet dishes.
That last point gets skipped constantly. A hob with no bench beside it is a hazard, not a layout.
Kitchen Island Dimensions That Leave Room to Move
A kitchen island needs at least 1,000 mm of clear floor space on every side, and 1,200 mm where seating or a second cook is involved. Below that, an island stops being a bench and becomes an obstacle.
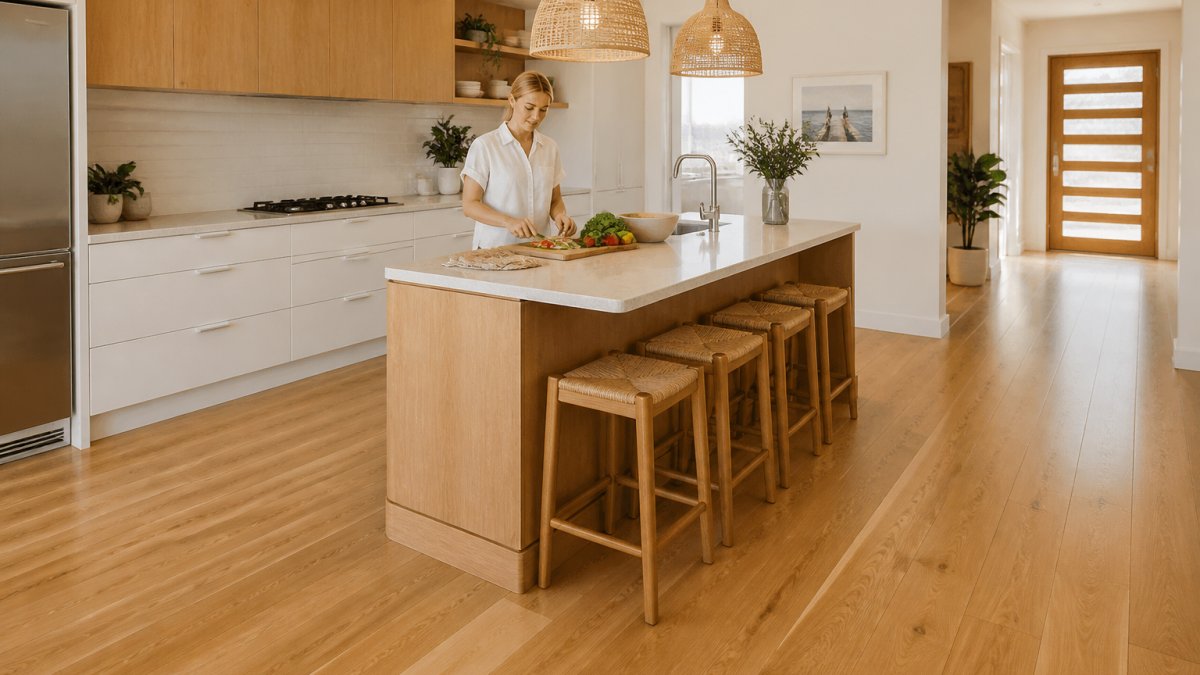
Size the island to the room, not to the catalogue. A common approach is a bench depth of 600 to 900 mm, with 900 mm allowed for a seating overhang if you want stools. Anything wider than about 1,200 mm is hard to clean across and wastes floor space you'll want elsewhere.
Watch out: an island that leaves under 900 mm to the back bench looks generous on a plan and feels cramped the first time the oven door opens. Measure the walkway with the appliance doors open, not closed.
Small Kitchen Layout Ideas That Add Real Storage
Small kitchens gain storage from layout decisions, not from more cupboards. A compact kitchen with full-height cabinetry, drawers instead of doors, and storage that runs to the ceiling will out-store a larger kitchen with standard wall cabinets.
The highest-value moves:
- Drawers below the bench. Deep drawers hold pots and pans in one pull, where a cupboard door forces you to kneel and dig.
- Full-height runs. Carry cabinetry to the ceiling and use the top section for seasonal items.
- Corner solutions that work. Pull-out corner units beat a fixed corner cupboard you can't reach into.
- Bench-to-ceiling splashback storage. A shallow shelf run keeps daily items off the bench.
If your kitchen is genuinely tight, our collection of kitchen layout ideas for small spaces works through the proven configurations in more depth. The principle holds either way: solve storage vertically and in drawers before you add floor area.
Layout Mistakes That Make a Kitchen Feel Wrong
The most common layout mistake is designing for photographs rather than for the cook. A kitchen can look immaculate and still feel wrong every single day, and the causes are predictable.
The recurring offenders:
- A walkway under 1,000 mm. It reads as cosy in a render and as a squeeze in real life.
- The bin in the wrong place. Bins belong near the prep bench, not tucked in a corner behind a door.
- The dishwasher opening into the walkway. Check the drop-down clearance, not just the closed footprint.
- No landing space beside the oven or hob. Hot pans need somewhere to go immediately.
- Storage that ignores the workflow. Pans stored across the room from the hob guarantee extra steps.
Cost overruns usually start with these same decisions, because fixing a layout after cabinetry is built means paying twice. Our guide on avoiding hidden kitchen renovation costs covers the quote checklist that catches them before work starts.
Turning Your Layout Principles into a Buildable Plan
A layout becomes buildable when every dimension is written down, every appliance is specified, and the cabinet schedule matches the plan. That's the point where a good idea turns into joinery someone can actually make and install.
Before you engage an installer, get the plan measured on site rather than scaled off a brochure. Walls are rarely square, and a 20 mm discrepancy changes a cabinet run. Then confirm the written scope: cabinet sizes, hardware, finishes, appliance allowances and who is responsible for what.
Two practical steps make the handover clean. First, ask the questions in our guide to hiring a kitchen installer, particularly around site conduct and written scope. Second, understand the schedule, because a custom kitchen typically runs through design, manufacture and installation over a set number of weeks, which our breakdown of how long a custom kitchen takes explains phase by phase.
East Coast Joinery Solutions provides a clear written scope and pricing before work begins.
Frequently Asked Questions
What are the main principles of good kitchen design?
A good kitchen layout balances three things: workflow, storage and clearance. The work triangle keeps the sink, hob and fridge within easy reach of each other. Work zones group tools and supplies where you use them most. Clearance matters too, with at least 1,000 mm between opposing worktops and 1,200 mm where two people pass. Get these right before choosing finishes, because no cabinet door or worktoptop can fix a layout that puts the fridge behind the cook.
What is the best layout for a kitchen?
There is no single best layout, only the best fit for your room and routine. A single-wall layout suits narrow spaces, a galley works well in corridors, and an L-shape or U-shape handles larger rooms with more than one cook. A kitchen island only earns its place when the room is wide enough to keep walkways clear. Match the shape to the room first, then refine the kitchen work triangle and work zones within it.
What is the kitchen work triangle, and does it still matter?
The kitchen work triangle links the sink, hob and fridge, with each leg ideally between 1.2 m and 2.7 m and the total run under about 8 m. It still matters because it captures the three busiest points in any kitchen. Modern layouts add ovens, dishwashers and prep sinks, so treat the triangle as a starting point rather than a strict rule. Keep the core three close, then check that added appliances do not block the paths between them.
How much space should there be between kitchen worktopes?
Allow at least 1,000 mm between opposing worktops for one cook, and 1,200 mm where two people work at once or appliances open into the walkway. Behind a seated island, allow about 900 mm from the worktop edge to the nearest wall so stools can pull out. These clearances decide whether a kitchen feels generous or cramped, and they are far cheaper to get right on paper than after the cabinets are installed.
How can you make a small kitchen layout more functional?
Use full-height cabinetry, drawers instead of cupboards and a single run of tall units to gain storage without adding floor space. Keep the kitchen work triangle tight, put the bin and dishwasher beside the sink, and choose a slim island or peninsula only if walkways stay at 1,000 mm or more. Light colours and open shelving help the room feel larger, but storage planning does more for daily function than any finish.
Where should appliances go in a kitchen layout?
Place the fridge at the edge of the work area so it does not interrupt the path between sink and hob, and keep the cooktop away from windows and walkways. Put the dishwasher next to the sink for easy loading, and group ovens and microwaves in a tall cabinet run at worktop height. Check that doors and drawers can open fully without hitting each other, and confirm sockets and plumbing before the cabinet order is placed.
Getting a kitchen layout right is mostly a matter of testing clearances and workflows before anyone cuts a board. That's the part we care about most: practical layouts designed around your storage needs and how you cook, durable finishes and hardware, and accurate, tidy installation in a home you're still living in. You deal directly with Harry from the first measurement to the final fit-off. Get started with East Coast Joinery Solutions and request a free quote for your kitchen.
